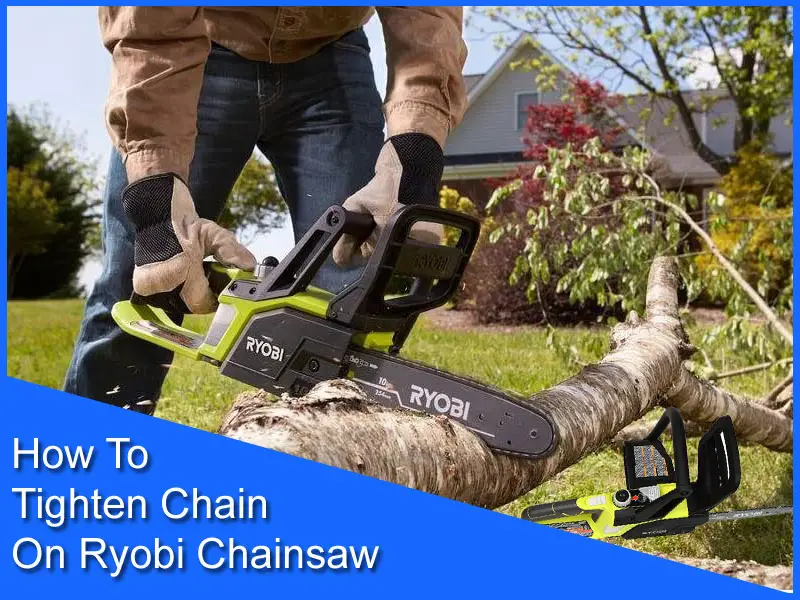
If you work in the wood carving industry you surely know how important it is to select the right chainsaw for the job. How To Tighten Chain On Ryobi Chainsaw makes the work much faster and more efficient if you know how to control it.
There there are some issues that can make you’re curving the worst nightmare and if you do not have a proper idea about it accidents can happen. For example, if your chainsaw’s chain is not attached properly, or the fit is not right, then it can slide through the chain slot and devastating accidents can take place.
Ryobi chainsaw is one of the recent favorites in the market that’s why here we are going to explain some of the problems regarding the saw’s chain and how to tighten the chain on the Ryobi chainsaw.
How To Tighten Chain On Ryobi Chainsaw
If your chainsaw’s chain is sagging or in too much tension then you need to fix it immediately before jumping into work because that might destroy your chainsaw or you can get hit with the chain. So How To Tighten Chain On Ryobi Chainsaw follow the steps down below:
Step 1
The first step is going to be making sure that the brake of your Ryobi chainsaw is off. Then take you multi-tool that comes with the chainsaw. It has both a wrench on one side and a flathead screwdriver on the other side.
You are going to need both sides to fix your chain. Because you need to loosen the bar nuts and then also use the flathead to adjust the tensioning screw.
Step 2
Now go ahead and take your multi-tool to loosen the bar screw with the wrench side. Take your flat screw side and insert it into the chain tightener hole. If you turn the screw clockwise it’ll tighten the chain.
There’s also a diagram at the bottom that shows, if you go right it is a plus for tightening in case you forget.
Step 3
Now inspect your chain. If it’s sagging then turn the screwdriver clockwise to tighten the sagging. Here you don’t want it too tight. Test it to make sure it moves without binding. So always test and adjust the chain.
Step 4
When you are satisfied with the tightness of the chain jump back to the bar nuts and tighten those up with your multi-tool again. Make sure the chain still moves freely. So the amount of tightness depends on what kind of work you are going to do with the chain saw.
Chainsaw Maintenance Tips
If you use the chain saw regularly or occasionally you must look after the maintenance of your chainsaw’s chain. If you are a beginner then you must know about the maintenance at all costs.
Step 1
The first thing you need to make sure in your chainsaw is that you’ve put the chain in the right direction. Most chainsaw chain is directional and always look for the diagram to check if your chain is installed correctly.
Step 2
There are going to be signs of wear that you need to look for. There might be blue spots on the rail which indicates where the chain chassis and the groove of the bar are having interference issues.
You need to look for the nose component where does the nose spin freely, does the nose slid in and out and you also need to check the tail of the bar for wear patterns that occur as a chain comes off the drive sprocket contacts the bar.
The tools you’ll need to maintain your bar are a groove cleaner, a flat grease gun, t file or a bar rail dresser, and a grease gun. Some bars have grease holes on the nose, some do not. So look for that.
Step 3
When you work with a chainsaw the bar will gradually get knife edging buildup on the rails which occurs naturally from the chain sliding across the rails. It is kind of a thin piece of metal that slowly lifts off the rail.
To remove those you can either take your flat file and simply go across the rail bar to it or a bar rail dresser and slide it along the rails.
Step 4
It is very important to check if your bar rail is flat or not. To check if you can use the bar rail dresser and slid it along the rail. So what it does is it flattens the unparallel parts and makes it parallel so it cots nice and straight.
Step 5
Chain bars are symmetrical meaning they are the same shape top or bottom. You paid for both sides of the bar so flip it over occasionally so you can even out the wear and lengthen the life and usefulness of the bar.
Step 6
When greasing the nose components of the bar it’s important to first clean out the grease hole so you’re not pushing debris into that nose. Now when you grease it what you want to do is you want to squirt grease into the nose, rotate the nose, and then squirt grease into the nose again.
You have to do that several times. So the old grease is removed and the new grease is filling in taking its place.
Step 7
The last thing you have to do is clean out the groove of the bar. Take a groove cleaner tool and stick it into the groove up towards the nose and pull it back towards the tail. That will remove all the debris and build-up in the groove.
You might also like
- How To Make Neon Green Paint
- How To Remove Peeling Paint From Wood
- How To Wash Sand Cloud Towel
- How To Install Rafter Ties
- Do Vinyl Floors Need To Be Sealed?
- What Is The Standard Height For An Ottoman
Final Verdict
If you are a beginner and working with a chainsaw for the first time then you must read this whole piece to get an over the ideas and most importantly How To Tighten Chain On Ryobi Chainsaw and some tips of maintenance.