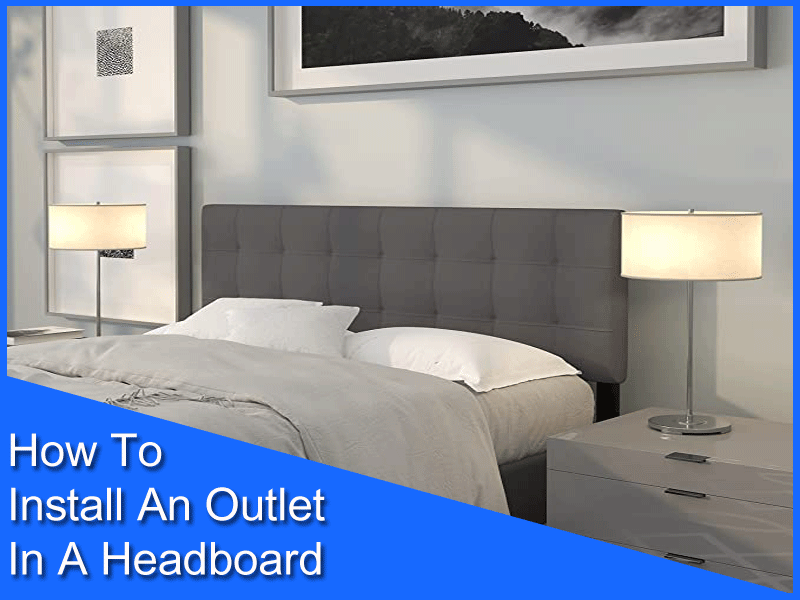
How To Install An Outlet In A Headboard? Do you know how many outlets are there in an average home?
If you guessed 75, you would be correct. That’s a lot of outlets with a lot of functionalities. Nowadays people do creative things with outlets by installing them in their closets, furniture, and almost anywhere they want to.
You Must Be Thinking Why A Headboard?
Because when people sleep at night they tend to charge their phones or laptop. If you have an outlet for charging on your headboard it makes it more convenient at night and you don’t have to walk out of bed to check on your phone if you need to.
6 Easy Steps To Know How To Install An Outlet In A Headboard
In this article, we are going to tell you How To Install An Outlet In A Headboard.
Kinds Of Install Am Outlet In A Headboard
There are different kinds of outlets on the market that can be installed anywhere you want and also you need to make sure that they are secure to be installed on your headboard.
- 15-amp 125-volt two-wire outlet also known as a two plug outlet
- A switch and outlet combination; provides two features in one device
- Three-prong 15-1mp, 125-volt outlet; helps prevent if any wiring comes loose
Tools Needed for Outlet Installation
The tools that you’ll need for the job are-
- A magnetic stud finder
- Screwdriver
- Voltmeter
- Power cable
- Drill machine
- A pencil
- Drywall cutter
- Electric woodcutter
- Sandpaper
Step by Step Installation Guideline
Here we are going to explain a step by step guideline for installing an outlet through the middle of your headboard, so you can install an outlet by yourself-
Step 1
At first, you need to decide where on the headboard you want to install your outlet. It will be better if you have a wood headboard that is not tufted. Remove your headboard first so you can map out your adjacent wall to see if there are any power outlets located anywhere on the other side.
When you find one you can tap off that outlet to add an outlet to your headboard wall. Its easier always easier to install an outlet between the same studs. That way you don’t have to cut across any extra studs and the hole will be the same.
Step 2
After you find the outlet on the other side, use a magnetic stud finder to locate the stud. Pass out your magnetic tool on the sides of the wall the outlet is in and find the stud. Once you do find that, map out the wall of the other side where you want your new outlet to be installed. Usually, there will be a 16-24 inches gap between the studs. Now you need to locate the stud on the other side of your wall.
Step 3
Now you need to remove the old outlet on the wall plate. There will be two screws on the outlet. Unscrew them. Now you need to locate the power side and the neutral side. Pull the outlet out and use your voltmeter to find the power wire. Your grounding screw will show you 110 volts on the meter.
Step 4
Now you need to run a cable from this box to the new box you’re going to install. There will be some space inside the hole where you will have to drill a hole for the cable to pass. Drill a hole in the bottom corner away from the other cables. Turn off the breaker so you don’t get electrocuted. Push your power cable through the hole.
Step 5
Now go on the other side of the wall and cut a hole for the new box to pull that wire through. Now locate the stud to cut a hole. Measure out the cable box on the wall where you’re gonna install your outlet. You can use a pencil to mark on the wall. You can use a drywall cutter to make the hole.
Step 6
Insert your hands through the hole to reach the power wire and pull it through. Now you need to make another hole on your headboard where the new outlet will be installed. Use a woodcutter to make a hole on your headboard and use some sandpaper to make the sides even. Set the wire box in the headboard hole and secure it with screws.
All you need to do now is just connect your outlet and put the cover plate on the headboard. Go on the other side to finish the terminations and connect the power to the outlet.
Conclusion
So now you know How to Install an Outlet in a Headboard which is very easy to do. But if do not have a proper idea about electric construction we recommend you use a professional’s help for this job.