To install a Hunter ceiling fan with remote, you will need to begin by turning off the power at your circuit breaker box. Then, use an adjustable wrench to loosen and remove the mounting screws from the existing electrical box in your ceiling. Next, attach the mounting bracket that comes with your fan onto the top of the electrical box using new screws provided in your kit.
Now match up and secure all of your wires according to their colors; white wire goes on white, black on black etc., then tuck them into their respective holes in the canopy cover plate of your fan motor assembly. Last but not least, secure this plate onto its base at a 90 degree angle with two small screws before attaching it up above to its bracket mount at each corner point. Finally turn on power again and test out if everything is working properly including any light kits or remote function settings you may have installed as well!
- Step 1: Assemble the ceiling fan
- Start by attaching the blades to the blade arms, then attach the blade arms to the motor housing
- Step 2: Securely mount the fan assembly to a junction box on your ceiling with screws provided in your installation kit
- Make sure that it is firmly mounted and level before continuing
- Step 3: Connect the wiring from your wall switch or remote control unit to its corresponding wires on the fan assembly
- Follow all safety instructions and make sure that you turn off power at electrical panel before working with any of these wires
- Step 4: Balance your blades if necessary, using weights included in installation kit and follow manufacturer’s instructions for proper balancing procedure if needed
- Step 5: Install canopy covers over mounting bracket and secure them with screws provided in installation kit as per instruction manual for specific model of fan you are installing
- Step 6 :Attach light fixture if present following manufacturer’s instructions , making sure not to overtighten screws when connecting socket hardware
- Finally install glass coverings over light fixtures as desired
- Step 7 : Turn power back on at breaker panel, test operation of remote or wall switch , adjust speed settings as desired , enjoying cool breeze from new hunter ceiling fan!
How to Wire a Ceiling Fan with a Remote Receiver
How to Install a Hunter Ceiling Fan And Light Control Switch
Installing a Hunter Ceiling Fan and Light Control Switch is an easy project that can be completed in just a few steps. First, turn off the power to your fan at the circuit breaker box. Next, remove the existing light switch cover and disconnect all wires from it.
Then install the new switch using carefully matched colors between the old wiring and new switch wiring. Finally, secure the switch with screws according to manufacturer instructions before restoring power to test out your newly installed ceiling fan and light control switch!
How to Install Ceiling Fan With Remote And Two Wall Switches
Installing a ceiling fan with both a remote and two wall switches is not as intimidating as it may seem. The first step to installing the fan is to mount the mounting bracket securely into the joist that supports your ceiling. Once this is done, attach the down rod and hang the fan motor assembly from it.
Then take care of all necessary wiring – connect one switch wire to each terminal on one side of the receiver unit, then connect both remaining switch wires (from either wall switch) to one another at their other ends before connecting them to the remaining terminals in your receiver unit. Finally, install batteries into both your fan’s remote control and its receiver unit, pair them together using set-up codes provided in user manuals, and you’ll be ready to start enjoying cooling air circulated throughout your room in no time!

Hunter Fan Installation Video
Watching a Hunter Fan installation video can be a great way to get familiar with the steps and tools required for installing your new fan. These videos often provide detailed instructions on how to properly install your fan, including tips on wiring and mounting the fan, as well as troubleshooting any potential issues. With their visual demonstrations and step-by-step guidance, these videos can help make sure you have a successful installation of your new Hunter Fan!
How to Wire a Hunter Ceiling Fan With Light And Remote Control
Installing a Hunter ceiling fan with light and remote control is an easy home improvement job that can be completed in just a few steps. Start by turning off the power to the location where you are installing the fan, then mount the hanger bracket onto the electrical box using screws. After connecting any safety cables, attach your fan wiring harness to the wires in your ceiling and secure them with wire nuts.
Finally, install your light fixture or canopy kit before mounting your fan blades and attaching them to the motor housing of your fan. Once everything is connected, turn on your power source and enjoy!
Hunter Fan Remote And Receiver Kit
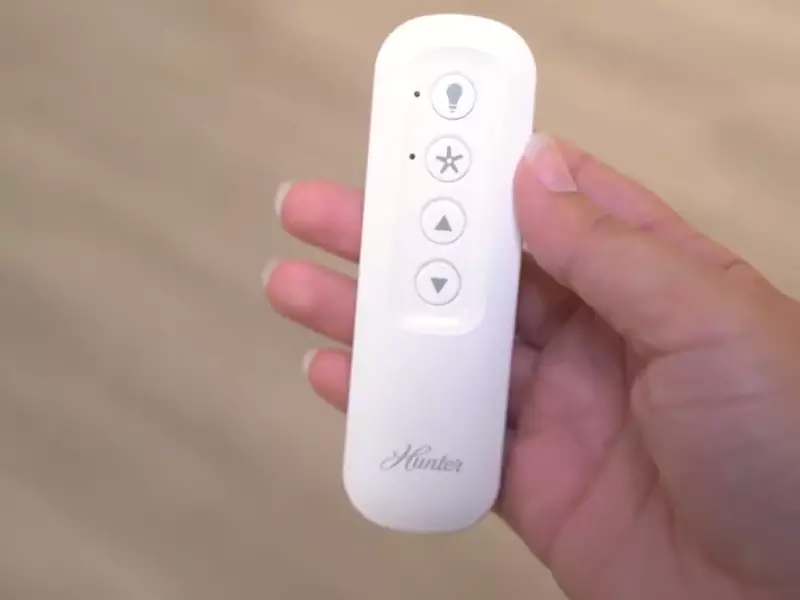
The Hunter Fan Remote and Receiver Kit is the perfect solution for those looking to add remote control functionality to their ceiling fan. It includes a receiver, which mounts inside the canopy of your fan, along with a handheld transmitter that allows you to change speed settings and turn lights on or off from anywhere in the room. This kit is compatible with most Hunter fans and is easy to install, making it an ideal addition for anyone looking for convenient control over their ceiling fan.
What Do I Do With the Red Wire When Installing a Ceiling Fan With Remote
When installing a ceiling fan with remote, the red wire is used to provide power to the receiver for the remote. It should be connected directly to an electrical outlet or light switch box and must be properly grounded. Make sure you follow all local building codes when wiring a ceiling fan with remote as improper installation can lead to dangerous situations.
How Do You Wire a Hunter Fan With a Remote?
To wire a Hunter fan with a remote, follow these steps:
• Turn off the power to the existing wall switch.
• Connect one end of each of the three wires from the fan to the corresponding wires in your ceiling box.
• Attach two black lead wires coming out of receiver module to wall switch’s black leads.
• Connect red and white lead wire coming out of receiver module to dedicated ground (green) wire in ceiling box using twist-on connector.
• Attach included wall control plate over existing wall switch and secure with screws provided by manufacturer.
Reattach cover plate on ceiling box and turn power back on at breaker panel or fuse panel. Finally, program remote according to instructions included with it for complete setup!
Does a Ceiling Fan With Remote Need a Wall Switch?
No, a ceiling fan with remote does not need a wall switch. The fan can be operated using the remote control included in the package:
• Change fan speed
• Reverse airflow direction
• Turn fan on/off
However, some fans offer optional wall switches that provide additional convenience when operating the fan.
Where is the Remote Receiver in a Hunter Ceiling Fan?
The remote receiver in a Hunter ceiling fan is typically located in the canopy of the fan. It can be identified by its small, rectangular shape and wiring terminals on each side.
The following steps will help you locate it:
• Turn off your power supply to reduce any risk of electric shock.
• Remove the light bulbs from their sockets and unscrew the screws that secure the glass shades to identify if there is a remote receiver present behind them.
• If not found inside, remove all screws around the canopy at least 5 inches away from motor housing to access any potential receivers hiding inside.
• Use a flashlight or phone camera flash to inspect further into hard-to-reach areas where there could be a hidden receiver.
Where Does the Red Wire Go When Installing a Ceiling Fan With a Remote?
The red wire is the power source. When installing a ceiling fan with a remote, it must be connected to one of two places:
* To the receiver inside the fan canopy
* Directly to the wall switch box
If connecting directly to a wall switch box, use wire nuts and electrical tape to ensure proper connections and safety.
Conclusion
Installing a Hunter ceiling fan with remote is not as difficult as it may sound. With the right tools and instructions, you can easily install your new fan in no time. Once installed, it will provide you with years of reliable cooling and air circulation for your home.
Ultimately, installing a Hunter ceiling fan with a remote control has numerous benefits that make it an ideal choice for anyone looking to upgrade their existing system or add additional convenience to their home environment.