If you are working to renovate your roof which is bowing on the sides then you should surely follow our How To Install Rafter Ties detailed guideline for the utmost results.
What Is A Rafter Tie?
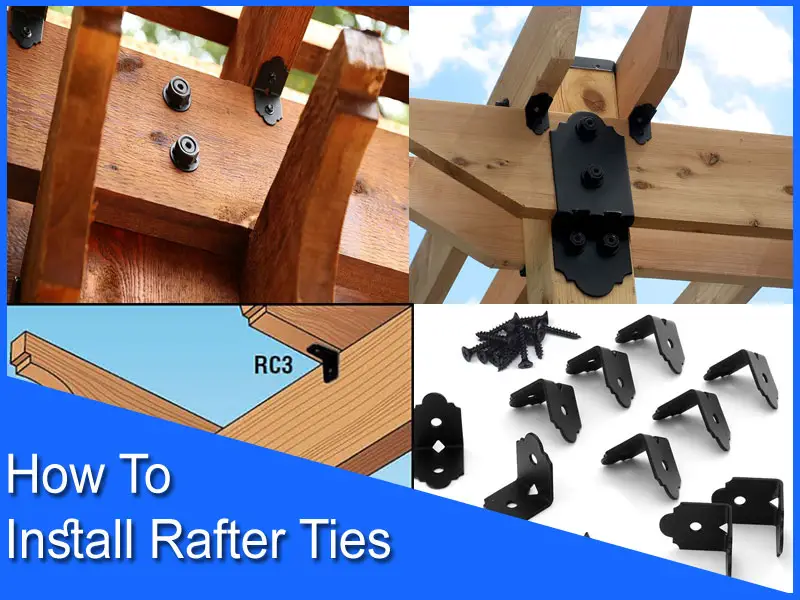
A rafter tie is usually a two by four and it’s spaced 48 inches on center and it is nailed into the rafter and then angled nails or toenails are driven into it so that it can connect to the top plate and the rafter and it is going to tie to the other side of the wall, which will prevent the walls from spreading apart and they can also be used in the opposite directions.
How To Install Rafter Ties
A Rafter tie is used to keep the walls from bowing. It ties how the collar tie is used to rafter ties the rafters together at the ridge and to prevent them from separating. So the rafter ties are used basically in the lower area to prevent the raptors from separating.
Without the rafter ties, the wall will bow, though the ends are not going to bow. The top plate gives you a nice solid tie from one end to the other, so you’re not going to have any problem. The problem is going to be in the center. So when it bows the ridge sags.
Rafter Layout
Creating a rafter layout only requires two things, a speed square, and a basic calculator. If you are a beginner then you should give some attention to how you can design a rafter layout by yourself.
Let’s discuss one of the easiest methods so that even a beginner can follow it.
Step 1
Gables roofs are made up of common rafters, and to layout those rafters, you’ll need to know the slope of the roof first. To get the slop you’ll need to measure and understand four things:
- Span: The span should be the total measurement of the building from its outside edges
- Total run: This is an easy number to get because it’s half the distance of the span
- Unit run: It is represented by the lower side of a triangle, is always 12-inches for rafters that are 90-f\degreesa to the ridge
- Unit rise: For every 12-inches of the unit run, a rafter will rise a certain amount which is normally predetermined on plans or drawings
Step 2
Now that you know the terms and concepts it’s time to determine the last missing piece which is the unit length or slope. The unit length or slope is the ratio between the unit run and the unit rise. To calculate the length you can use the Pythagorean theorem. To solve it use the equation C=⎷A2+ B2. place your numbers and calculate them to find the length.
Step 3
When you have your rafter length it is time for some layout. Starting at the top, place the s[eed square on the top side of the rafter. Now mark your numbers and draw a line and make a cut with a circular saw.
Next hook your tape measure over the long point of the miter, measure, mark, and cut. It’s okay to cut your rafter a little bit longer as you can always recut a rafter but you can never stretch one back out.
Rafter Tie Installation
How To Install Rafter Ties in your attic simply follow the instructions below to achieve the best results.
Step 1
The first thing you need to do is create a simple roof angle pitch finder if you like which is two pieces of timber bolted together with one screw initially and then put your spirit level on the bottom.
Now hold it up to the roof pitch using a spirit level to find level and move the top timber into place because it pivots on the single screw. When you find the angle and the bottom is level you then lock it into place with a second screw. And that will be your roof angle.
Step 2
Now take the sharp corner of a metal ruler and as the timbers are four inches thick you know the bottom edge is going to be two inches below that center point. Now put your roof angle finder up against it, run it down until the bottom edge when you are sure about all the measurements and placements mark everything.
Step 3
It is always helpful to use some rafter support for guidance and assistance. So put some rafters sat the top of the wall and nail them up in place at the farthest end of the ridge board for support. Use a spirit level to check the end rafters if the installation is correct.
Step 4
Now place a rafter on the side of the ridge and nail it using 3 16D. Then keep on placing the later rafters the same way using the same size nails. Nail the lower end of the rafter to the wall with nails to attach the joints that have metal anchors. To attach it use the required nails that the manufacturers suggested.
Step 5
When making the layout you must have decided or calculated how many rafters you need for the roof to stay stiff. So using the same method and nails install the remaining rafter’s ties precisely without any mistakes.
Step 6
Now it’s time to cut the rafter tie following your previous measurements and the angles that you need. Make sure to cut everything very accurately and fit the rater ties in position. Place the ends against the rafters about half-inch from the edges of the rafter and nail both sides using 10D nails.
You might also like
- Do Vinyl Floors Need To Be Sealed?
- What Is The Standard Height For An Ottoman
- Can Bunk Beds Collapse
- How To Determine Lamp Size For A Nightstand
- What Accent Chairs Go with Brown Sofa
- How To Remove Cool Deck Coating
- How To Clean A Propane Tank
Final Verdict
If you are a beginner this whole process might be overwhelming for you but if you pay attention and keep on studying the measurement so you can easily catch up with our How To Install Rafter Ties guidelines.