A picnic table has been a tried-and-true backyard staple for generations. But it also has to look or function like a playing table if you doný want it to. Thought they are used every now and then but can you guess how much we take care of them.
When it comes to restoring or making How To Weatherproof A Picnic Table, the first thing that it requires it to be weatherproof. Because these giant tables are mostly placed outside in the open and endure heat, rain, and coldness which is a lot for outdoor furniture.
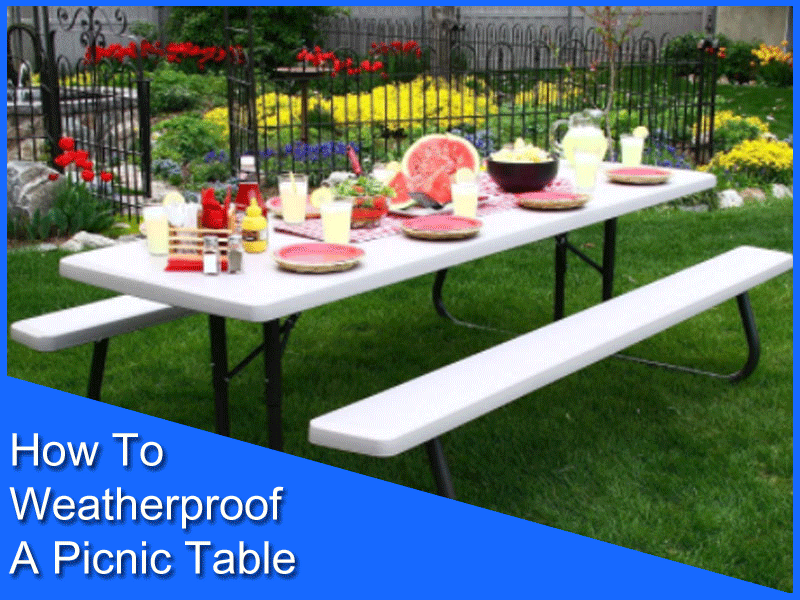
How To Weatherproof A Picnic Table
So you need to make your picnic tables long-lasting and weatherproof so they can survive every type of circumstance out there in the open. If you have a picnic table that you want to make durable and long-lasting then you need to follow our step-by-step guidelines on how to weatherproof a picnic table without skipping any bit.
Tools That You Need For Weatherproofing
Unlike any other wood-based furniture picnic tables need more protection and care because they adhere to all the harshness of daily weather. So to make your picnic table you need to make them durable and weatherproof. For this, you’ll need
- 80, 180, 220, and 320 grit sanding paper
- West System Epoxy
- Putty knife
- Irrigation syringe
- Epoxy sealer
- Acetone
- Natural bristle brush
- Epifani varnish
- Mineral spirit
Note: None of these products are inexpensive. All these products are marine quality finishes and they are made to survive some pretty harsh conditions. That’s a good investment for someone who doesn’t want to refinish furniture every year.
Following Easiest Steps To Making A Picnic Table Weatherproof
The steps that we are going to discuss here might seem like a lot of work for you but in the end, it will be worth it. If you don’t want to retouch your picnic table now and then you should consider this kind of finishing done on your picnic table.
Step 1: Sand Off The Top Layer
If you are working on rehabbing an old picnic table then it is very important to remove the old rusty top layer by sanding down the gray top layer and exposing the fresh wood fibers.
For this sanding, you need to use 120-grit sanding paper and sand the whole area well. When you are done sanding clean the surface using a tack cloth. Wipe off all the dust thoroughly.
Step 2: Fill Out All The Holes And Cracks
To fill all the cracks and holes use West System Epoxy. Unlike regular five-minute epoxy, this stuff is loose enough to pour into the small holes and cracks and it just soaks it right up.
You could then use a putty knife to spread the epoxy and push it further into the cracks. You can also coat the entire surface with this stuff for the best results. Then you could just go back with an irrigation syringe and force epoxy into the deepest cracks to fill out all the holes.
You also need to fill out the ends and the joints with this epoxy so water does not seep into any cracks later on. 8 easy
Step 3: Sand Again
When the epoxy is fully dry, at this point you need to sand the whole surface again. You might be thinking, that will ruin the table but no, it will not. For this stage of sanding use 180-grit sanding paper for some diligent sanding.
After the excess layer of epoxy is sanded out the surface will start to look nice. Now it’s time to get ready for the one-two punch finish epoxy sealer followed by Marine varnish.
Step 4: Mixing The Punch Finish
To achieve the best quality varnish you can use Total Boat Epoxy varnish. Unlike similar sealers, such as CPES, this stuff has minimal odor and zero VOCs. mixing is simple. Just use the ratio marking on the mixing cup and apply liberally to the surface.
Step 5: One-two Punch Finish
For better absorption, you can dilute with acetone. This mixture applies easily enough, but it might not seem to soak into the fibers as readily as CPEF, and it also might take a very long time to cure; like a week. So you have to be patient. Apply this mixture all over the table using a soft painter’s brush.
When it is cured lightly sand the surface with a 180-grit again in preparation for the varnish.
Step 6: Mixing The Varnish
For a top-quality varnish use Epifanes. This stuff is super thick, so you need to dilute it with mineral spirits by about 50% for the first couple of coats and in the last few coats should be down to 25%.
Step 7: Apply The Varnish
You can apply this varnish, like any other oil-based varnish. You can use a foam brush or natural bristle brush for applying. Your finishing schedule might be subject to the weather.
After each coat of varnish sand the surface with 220-grit. Towards the end, move up to 320-grit. For the best outcome apply a full five coats of gloss varnish to all parts of the picnic table and the seats.
Step 8: Top-coat
The regular Epifanes product is high gloss. But if you are not a big fab=n of high gloss you can use two coats of Epifanes Matt Wood Finish. Apply a nice even coat and let the surface dry fully.
You might also like
- Perfect Way How To Measure Curling Iron
- How To Clean Black Flag Bug Zapper
- Do Ottomans Have to Match Chair, Sofa & Couch
- Can You Use a Headboard Without Frame
- 6 Easiest Way On How To Make A Curved Wooden Arch
- How Big And High Should A Mirror Be Above A Sideboard
- How Tall Should A Lamp Be On A Sideboard
Final Verdict
With all these steps to follow you might be overwhelmed but don’t be. Because when you’ll get a hold of the steps it will get easier. Try to be prepared with all the tools and products that you’ll be using earlier so no time will be wasted. So these are the 8 easiest steps on how to weatherproof a picnic table successfully.
Frequently Asked Questions (FAQ)
What Is The Best Sealant For A Picnic Table?
If you have a picnic table that you want to keep in good condition, you may be wondering what the best sealant is to use. There are a few things to consider when choosing a sealant, including the type of material the table is made from and the climate you live in.
If your picnic table is made from wood, you’ll want to use a sealant that will protect the wood from moisture. A good option is a clear polyurethane sealant. This type of sealant will provide a durable, waterproof barrier that will help to extend the life of your picnic table.
If you live in an area with a lot of humidity, you may want to consider using a sealant that contains a mildewcide. This will help to prevent the growth of mold and mildew on your picnic table.
Whatever type of sealant you choose, be sure to follow the manufacturer’s instructions carefully. This will ensure that you get the best results and that your picnic table remains in good condition for many years to come.
How Do I Keep My Picnic Table From Rotting?
If you have a picnic table that is starting to rot, there are a few things you can do to try to prolong its life. First, if the picnic table is made of wood, you can try sanding down the affected areas and then repainting or staining the picnic table. This will help to protect the wood from further damage. If the picnic table is made of metal, you can try sanding down the affected areas and then painting the picnic table.
This will also help to protect the metal from further damage. If the picnic table is made of plastic, you can try cleaning the affected areas with a bleach solution. This will kill any mold or mildew that is growing on the picnic table and will also help to protect the plastic from further damage.
Is It Better To Paint Or Stain A Picnic Table?
If you are planning to keep your picnic table outdoors, it is better to paint it. This will protect the wood from the elements and help it last longer. If you want a more natural look, you can stain the table.