Vinyl siding is pretty easy to work with. Each piece is molded to look like two courses of siding. On top of each piece is nailing with holes or slots that allow you to attach the siding to the wall. There will be a little nailing strip below the channel. So knowing How to Fix Cracked Vinyl Siding can be a game-changer for you. And here we are going to explain how you can do that.
When you install a new piece of siding at the bottom of the new piece of siding snaps into that channel. When you need to remove or replace that siding you just push down on it and it pops out.
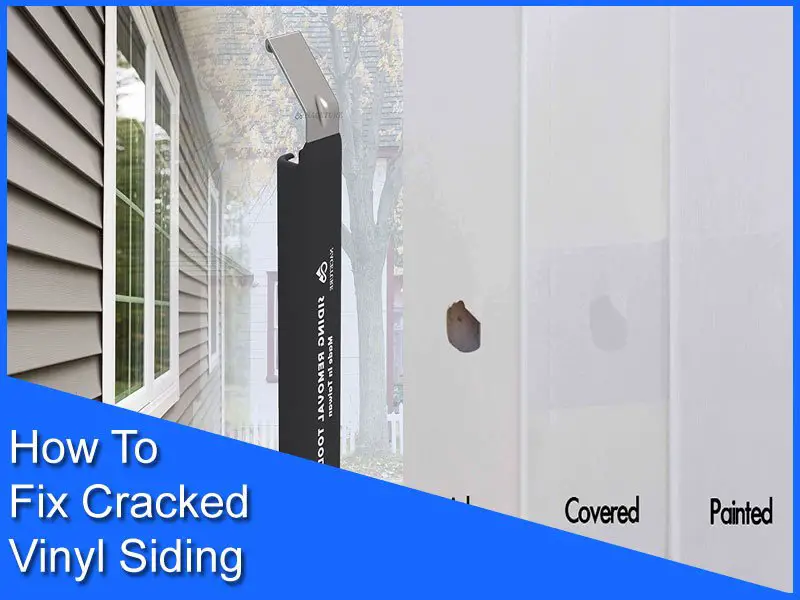
How To Fix Cracked Vinyl Siding
One thing we have found is repairing siding sometimes seems to be a bit troublesome. Because normally you have to tear from the top down to replace the one piece to restock them back up.
But here we will only discuss How To Fix Cracked Vinyl Siding which will not take long to do at all and it’s a whole lot easier than tearing off half your siding just to fix a small hole. So to do this job you’re only going to need three things. You’re going to need:
- A piece of siding that matches what you have
- A siding shear to cut the siding
- A good quality glue
Step 1
The secret to doing this is you don’t have to tear your sidings from top to the bottom. You want to take whatever you‘re cutting with and cut your siding. You cut the tab odd right through the lines straight across.
So to cut the siding take your siding shear which you can pick up from the home-improvement stores. They work extremely well. They look like a large pair of scissors and you just cut right through siding like butter.
So if you don’t have a pair you do a lot of siding work that’s worth investing in these things. People also use a saw blade on a table saw or a circular saw and turn that blade backward and cut through the plastic without tearing it up.
Take your shear and cut them right down the center of the top of the tab strip. Now take off the excess part. Because when you do so the cap falls apart and the side strips fall apart. And you are left with a jagged edge which you don’t have to care much about. Later you have to clean the uneven edges up before installing.
Step 2
Now take your glue and put a little bit on the back. You don’t even need it to friction alone, will always hold this in. But it’s better to add a little glue in case you get some wind and put a little bead right across the top. Cause that’s all you’re going to need. Now you’re going to kind of mesh it in when you get this in.
Step 3
Now go to your siding with your siding patch. All you need to do is just tuck it in to slice and try to shove this in as best as possible. So once you snap it up in you’re going to kind of rub that glue in and splash it around a little bit so it gets everywhere and that’s how you can fix your siding holes.
Another Way Of Fixing Sidings
In this fixing hack, you’ll need an alcohol solution to clean your base off nicely so the adhesive sticks just right in. some other things that you’ll need is:
- All-purpose putty
- A piece of cardboard
- Putty hardener cream
- Wood chisel
- A sanding block
- Flat Paint
- Smal painters brush
Step 1
Take your cardboard and take some putty with some hardener cream in it and mix that up with a popsicle. When you are done mixing you need to move quickly and start pitting some putty on the cracked areas. Try to smear it up. Fo the blogger holes try to push a little back in there. Now let the putty dry completely for the next step.
Step 2
Now take a wood chisel and start scraping off the excess hardened putty for the surface to make it look flat. You have to be very careful not to gauge out the putty from the crack. Hold your chisel in an angle and try to get the majority build-up off of here.
Step 3
Once you’re done removing the excess buildup of the putty it’s time to sand it off. So take your sanding block and start sanding gently to take off the final excess putty from the surface and make it fully flat on the sidings.
Step 4
This is the last step of finishing up your final project. Now take a painter’s brush with soft bristles to apply the same color paint of your siding to paint the putty patches you’ve just finished. Try to use small soft strokes on the patches and do not go against the grains. This way your patches will be seamless.
You might also like
- How To Clean Face At Home Naturally
- How To Clean Vintage Descoware
- How To Install 2 Sump Pumps In One Pit
- How To Support A Fiberglass Bathtub
- Are Futon Mattress Sizes Universal
- How To Install A Drop In Farmhouse Sink
- How To Check Compression On A Lawn Mower Engine
Final Verdict
The two methods that we’ve discussed here work great for small patches but you can also work that out in terms of the big ones. So we hope our How to Fix Cracked Vinyl Siding is helpful for you to solve your siding problem.
