If you use painting brushes for your work then you must know how important it is as a tool because this thing just works like a magic when it comes to applying paint or giving that final finish to your project.
Using a brush to apply paint or varnish or shellac or anything that type is pretty common. Buying brushes is like an investment because if you take good care and clean it after every use they will last you for years. Recommend you to follow, How To Clean Shellac Brush?
Hat Is Used To Clean Shellac?
Shellac is a natural resin that is secreted by the female lac bug. It is used as a coating and finishes for many different types of wood products. Shellac is a very popular finish because it is durable and has a high shine. It is also easy to repair if it becomes damaged.
Shellac can be cleaned with denatured alcohol, white vinegar, or shellac thinner. These solvents will remove any dirt or fingerprints that may be on the surface of the shellac. Always test the solvent in an inconspicuous area before cleaning the entire piece.
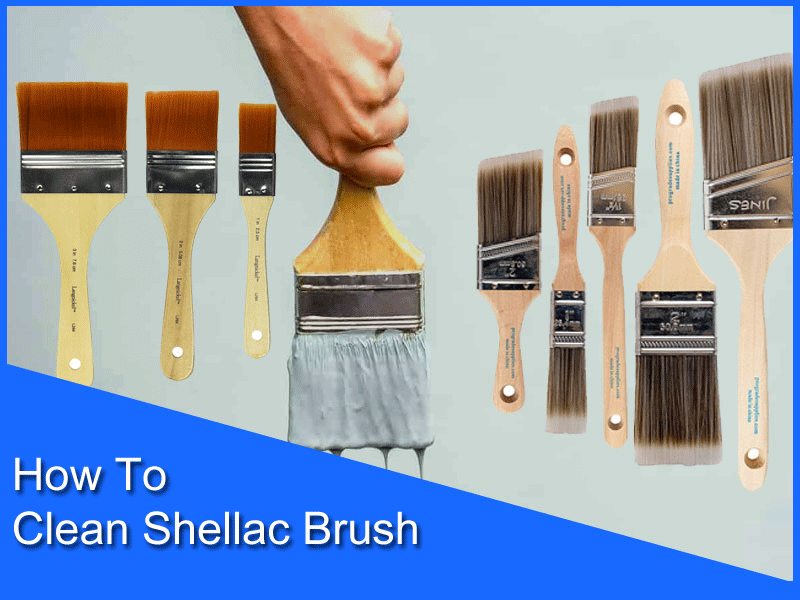
How to Clean Shellac Brush (3 Easy Methods)
So people who are pros at using brushes know very well how to clean their brushes after using them but if you are a new be and confused about what you should do to clean your brushes then check out our 3 easy methods of how to clean shellac brushes at home.
Method 1
It is always a good idea to clean your brushes after use because when you leave them like that the brush will get hard and you won’t be able to use them anymore in some cases. Another thing you can do to make the brush softer is to dip it in the paint again for some time and then clean the residue. So as for the first cleaning hack, you’ll need:
Tools
- A paint kettle
- Hot soapy water
- Methylated spirit
To clean your shellac brush properly follow the steps down below:
Step 1: Remove The Excess Paint From Your Brush
The first step of cleaning your shellac brush is, you need to start by breaking the thickest of it off. This means you need to scrape off the excess paint from your brush. The more you scrap the better it will be while cleaning. So take some time and keep scraping both sides.
Step 2: Use Methylated Spirit
After scraping your brush put it upside down in a paint kettle. Now pour some methylated spirit on the kettle and start dunking the brush onto it. Push the bristles of the brush so the paint gets loose.
Keep soaking the brush and moving it onto the spirit to take off as much paint as possible. And after some time you’ll see the paint coming out of the brush. When the spirit gets thick with all that paint in it. You might want to through it away and then repeat the same process. In the end, scrape the excess spirit and give a brush a good spin.
Step 3: Get That Hot Soapy Water
Now it’s time to clean your brush in hot soapy water. Give a good rinse to your brush so the water gets into all the nooks and crannies and gets cleaned up. Spend some time in this part so no more product is left on your brush.
After your brush is done cleaning you can rinse it with some clean lukewarm water for the fourth final clean-up. Then let the brush dry up and you can hang it upside down if you want.
Method 2
Many people use alcohol to clean their shellac brush most of the time. But that can be expensive at times. So the most inexpensive way to clean your brush without damaging it is to use ammonia which is a lot cheaper and comes 1 or 2 dollars a gallon. This method works great when you leave it for some time unattended and the brush gets hard like a rock. For this method you need:
Tools
- 2 clean container
- Liquid ammonia
- Clean water
- Brush comb
- Paper towel
Cleaning Process
First, take a clean container or a cup and pour some ammonia on it. Then dunk your brush in that and leave it there for 10 to 15 minutes. Make sure the bush is all the way soaked. After 15 minutes the brush will get softer and move it around to get the paint off of it.
Then take another container and pour a fresh batch of ammonia on it and your brush again. Give your brush a good rinse just to make sure there is no paint left on it. After cleaning the brush in ammonia rinse it with some water.
Now take a brush comb to comb through the bristles to both sides. When it’s soft wrap the brush in a paper towel or a newspaper until the brush gets dry. This keeps the bristles nice and tight for reusing.
Method 3
This method works for all kinds of varnishes or paints and it will also perfectly clean your brush so that you can use it for years without any damage. For this you’ll need:
Tools
- 4 clean containers
- Mineral spirit
- Dish soap
- Water
- Brush comb
Cleaning Process
For this cleaning process, you need 4 cups or small containers and pour an equal amount of mineral spirit just enough to dunk your brush. So first put your brush in the first container and push it inside the spirit so it’s dunked all the way through.
Then move to the second container and do the same rinsing. Then do the same rinsing in the third and fourth containers. This way your brush will be fully clean all the way through. Then go to your kitchen sink and apply some dishwashing soap on the brush and work it into the bristles.
When the brush is done cleaning rinse it with clean water. Lastly, brush the bristles with a comb to separate the bristles and leave them somewhere to dry.
You might also like
- 3 Perfect Ways How To Measure Knee Flexion At Home
- 4 Ways How To Brace A Wobbly Table
- 8 Easiest Steps On How To Weatherproof A Picnic Table
- Perfect Way How To Measure Curling Iron
- How To Clean Black Flag Bug Zapper
Final Verdict
If you’ve already read through all the methods you must have realized how easy it is to clean your expensive brushes at home and decided which one you want to go with. If yes, then do let us know about the outcome and leave some comments about our 3 easy ways of how to clean shellac brush.
Frequently Asked Questions (FAQ)
How To Clean Shellac Primer
It is always best to clean up any spills or drips of primer as soon as possible. But if you happen to let the primer dry, don’t worry, it can still be cleaned up. Here’s how:
First, use a putty knife or other sharp object to scrape off any excess primer. If the primer is still wet, you can use a damp cloth to wipe it up.
Next, use a solvent such as denatured alcohol, acetone, or mineral spirits to remove any remaining primer. Apply the solvent to a clean cloth and wipe away the primer.
Finally, wash the area with soap and water to remove any lingering solvent.
And that’s it! With a little elbow grease, you can easily clean up any shellac primer mess.
How To Store Shellac Brush
As a natural resin, shellac is a popular ingredient in many cosmetics and skincare products. It’s often used as a brush-on sealer for nails and as a base coat for manicures and pedicures. But what happens when you’re done using it and you need to store your shellac brush?
Here are a few tips on how to store shellac brushes so they stay in good condition and are ready to use next time you need them:
- Rinse the brush with acetone or shellac remover. This will remove any residual product from the bristles and prevent the shellac from hardening and becoming difficult to remove.
- Place the brush in a glass or metal container. Fill the container with enough acetone or shellac remover to cover the bristles.
- Store the container in a cool, dark place. An ideal spot would be a cupboard or drawer away from any heat sources.
- Check on the brush periodically to make sure the bristles are still covered with the acetone or shellac remover. If they start to dry out, add more of the solvent.
With these simple tips, you can store your shellac brush for future use. Just be sure to give it a good rinse before using it again to ensure the best results.
How Do You Clean A Brush After Using Shellac Primer?
You will need:
- A paintbrush
- Shellac primer
- Paint thinner
- A clean rag
- A container for the paint thinner
- A place to dispose of the paint thinner
- Pour a small amount of paint thinner into the container.
- Dip the brush into the paint thinner.
- Rub the brush on the clean rag.
- Repeat steps 2 and 3 until the brush is clean.
- Dispose of the paint thinner in a safe place.
Can I Use Rubbing Alcohol To Clean The Shellac Brush?
Yes, you can use rubbing alcohol to clean your shellac brush. Simply dip the brush into the alcohol and then wipe it off on a clean cloth.
Can you clean a shellac brush with mineral spirits?
Yes, you can clean a shellac brush with mineral spirits. You will need to use a brush cleaner or a solvent to remove the shellac from the brush. Mineral spirits will work fine as long as you do not let it dry on the brush.
How To Clean Zinsser Bin Off Brushes
In this article, we will be discussing how to measure an exhaust pipe. This is an important process to know if you are trying to replace or upgrade your exhaust system, as the wrong size pipe can lead to performance issues.
There are a few different ways to measure an exhaust pipe, but the most common is to use a tape measure. If you are using a tape measure, you will want to measure the pipe from the inside diameter. To do this, insert the tape measure into the pipe until it reaches the other side. Once you have the measurement, you can then determine the outside diameter by adding 1/2 inch to the measurement.
Another way to measure an exhaust pipe is to use a caliper. This tool is more accurate than a tape measure, but it can be more difficult to use. To measure the pipe with a caliper, you will need to place the caliper around the pipe and then squeeze the handles together until the jaws touch. Once the jaws are touching, you will need to read the measurement on the caliper. You can then determine the outside diameter of the pipe by adding 1/16 inch to the measurement.
Once you have the outside diameter of the pipe, you can then determine the circumference of the pipe by multiplying the outside diameter by 3.14. This will give you the total length of the pipe that you will need.
Knowing how to measure an exhaust pipe is important if you are trying to replace or upgrade your exhaust system. By using a tape measure or caliper, you can ensure that you get the correct size pipe for your vehicle.