Solar energy, an abundant, renewable and environmentally friendly source of power, has gained significant traction over the years. As individuals and businesses alike strive to reduce their carbon footprint and energy costs, the installation of solar panels has become a popular option.
The choice of a secure and reliable mounting method is essential to the installation process. A revolutionary product, the VHB (Very High Bond) tape, offers an effective solution for this purpose. Designed by 3M, this double-sided adhesive tape ensures a firm bond, withstands extreme weather conditions, and provides durability that rivals traditional mounting methods such as screws, rivets, and welds.
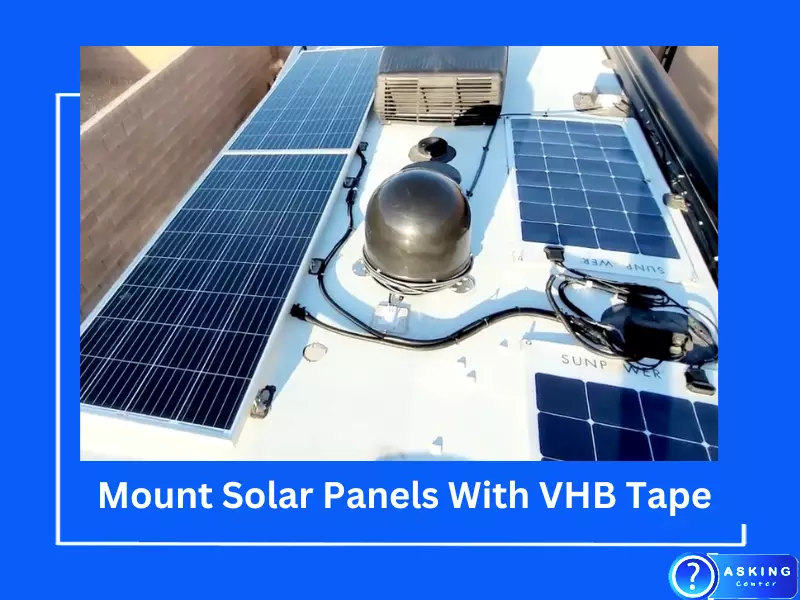
Ready to harness the power of the sun with ease and confidence? Discover the step-by-step process of mounting solar panels using VHB tape, its distinct advantages, preparation measures, safety precautions, and more. Let’s delve into a world where sustainability meets innovation.
The Appeal of Solar Energy
Environment-Friendly
Solar energy, a clean and renewable resource, contributes significantly to the reduction of harmful greenhouse gas emissions. Unlike traditional fossil fuels such as coal and oil, it doesn’t release carbon dioxide or other pollutants.
Cost-Effective
Despite the initial investment, solar energy can help save on electricity bills in the long run. Moreover, many countries offer financial incentives for solar panel installations, making it an attractive alternative for many homeowners and businesses.
Understanding VHB Tape
What is VHB Tape?
3M’s VHB tape is a double-sided adhesive tape renowned for its strength and durability. The term VHB stands for Very High Bond, indicating its ability to create a strong bond between different surfaces.
Why Choose VHB Tape for Solar Panel Mounting?
VHB tape offers a seamless and visually appealing alternative to traditional mechanical fasteners. Its ability to distribute stress evenly across the bonded area enhances its strength and durability.
Advantages of VHB Tape in Solar Panel Mounting
Weather Resistance
VHB tape can withstand a range of environmental conditions, including UV light, temperature extremes, and even moisture. This resistance makes it ideal for outdoor applications such as solar panel mounting.
Durable and Long-Lasting
VHB tape forms a permanent bond that improves over time. It offers a level of durability comparable to or even better than mechanical fasteners.
Easy and Quick Installation
Installing solar panels with VHB tape reduces the need for drilling, welding, or additional clean-up, thus reducing installation time and labor costs.
Preparing for Solar Panel Installation
Choosing the Right Location
The effectiveness of a solar panel greatly depends on its exposure to sunlight. Thus, it’s crucial to choose a location that gets ample sunlight throughout the day.
Measuring and Marking the Mounting Area
Proper measurement and marking ensure that the solar panels fit perfectly and are aligned correctly.
Ensuring a Clean Surface
Before applying VHB tape, it’s important to clean and dry the surface to ensure a strong bond.
Materials Needed for Mounting
Some essential materials needed for the installation process include VHB tape, a pair of scissors, alcohol wipes for cleaning, and of course, the solar panels and mounting hardware.
Each material plays a crucial role in the installation process. For instance, the VHB tape provides the bond, while the alcohol wipes ensure a clean surface for optimal bonding.
A Step-by-Step Guide: Mounting Solar Panels with VHB Tape
Step 1: Assembling the Materials and Tools
Start by gathering all the necessary materials and tools needed for the mounting process. This includes the VHB tape, solar panels, mounting hardware, a pair of scissors, alcohol wipes, a scouring pad, a drill, and marking tools.
Step 2: Performing a Dry Fit
Dry fit the solar panels onto the mounting area. This involves temporarily positioning the panels to ensure they fit perfectly and are aligned correctly.
Step 3: Marking and Drilling
Once the panels are correctly positioned, mark off the spots where the mounting hardware will be attached. Use a drill to make necessary holes for the mounting hardware.
Step 4: Preparing the Surfaces for VHB Tape
Now, we need to prepare the surfaces to ensure optimal bonding. This includes both the underside of the solar panels and the mounting brackets.
Step 5: Scuffing Up the Surfaces
Use a scouring pad to scuff up both the undersides of the solar panels and the mounting brackets. This process increases the surface area for the tape to adhere to, improving the overall bond strength.
Step 6: Cleaning the Surfaces
Wash off the solar panel mounting brackets and the scuffed undersides of the solar panels with alcohol wipes. This removes any dust or debris that could interfere with the bonding process. Make sure the surfaces are completely dry before moving on to the next step.
Step 7: Applying VHB Tape
Peel off the cover on one side of the VHB tape and apply it to the mounting brackets. Ensure the tape is applied evenly and covers the entire area of the bracket that will come into contact with the solar panels.
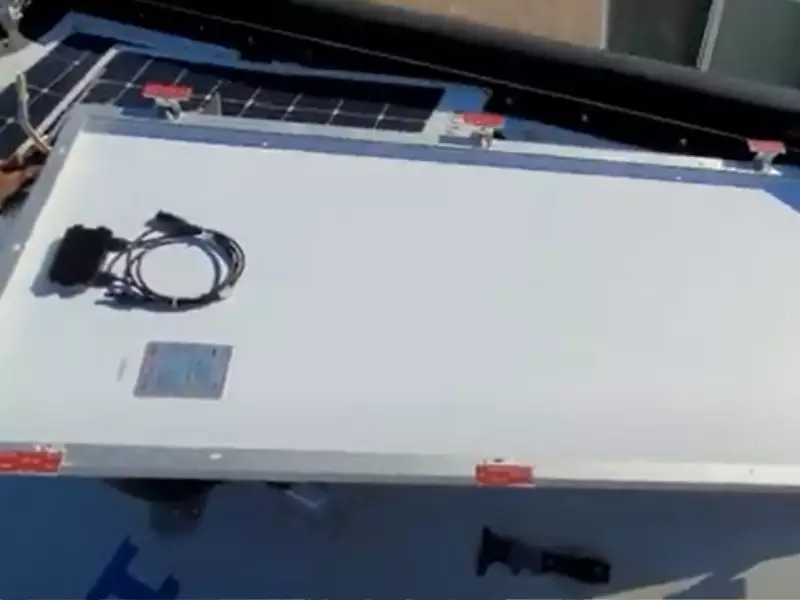
Step 8: Positioning the Solar Panels
Position your solar panels on the roof, aligning them with the previously drilled holes and the mounting brackets.
Step 9: Firmly Attaching the Panels
Peel off the other side of the VHB tape and carefully place the solar panels onto the mounting brackets. Press firmly to ensure a good bond between the surfaces.
Step 10: Allowing Time for Adhesion
Allow at least two days for the tape to fully adhere. This is a critical step as the strength of the bond improves over time. Avoid disturbing the solar panels during this period.
Tips for Successful Solar Panel Mounting with VHB Tape
Properly Pressing the Tape
To activate the bond, apply firm pressure to the tape after positioning the panels. This helps ensure a secure bond between the tape and the surfaces.
Waiting Period for Optimal Bonding
It’s recommended to wait 24 hours after installation for the bond to reach its maximum strength.
Regular Check and Maintenance
Perform regular checks to ensure the panels are securely attached and the bond remains strong. Regular cleaning will also maintain the efficiency of the panels.
Safety Precautions While Mounting Solar Panels
Using Protective Gear
Ensure you wear appropriate protective gear during the installation, such as gloves, safety glasses, and sturdy footwear.
Avoiding Work in Adverse Weather Conditions
Avoid installing solar panels in inclement weather. Wet or windy conditions can interfere with the installation and pose safety risks.
Frequently Asked Questions (FAQs)
Can VHB tape withstand high temperatures?
Yes, VHB tape can resist temperatures ranging from -40 degrees to 200 degrees Fahrenheit.
How can I remove VHB tape?
While VHB tape is designed for permanent applications, it can be removed by applying heat and using a scraper or a similar tool.
Is VHB tape waterproof?
Yes, VHB tape is water-resistant and can be used for outdoor applications.
Conclusion
Embracing solar energy through the installation of solar panels is a practical and eco-friendly step. The VHB tape revolutionizes this process by providing an easy, quick, and reliable mounting solution. Not only does it withstand varied weather conditions, but its longevity rivals traditional mechanical fasteners.
It’s crucial to prepare adequately, choose the right location, measure and mark correctly, and maintain safety precautions throughout the process. Now, equipped with this comprehensive guide, you are ready to harness the power of the sun, one panel at a time.