Installing a sprinkler riser extension can be a straightforward process if you have the right tools and knowledge. Sprinkler riser extensions are used to elevate sprinkler heads so that they can effectively water areas with tall vegetation or uneven terrain. By installing a riser extension, you can ensure that your lawn or garden receives the proper amount of water it needs to thrive.
However, it’s important to follow the correct steps to install a sprinkler riser extension to ensure that it works properly and doesn’t cause damage to your sprinkler system. In this guide, we will walk you through the steps to install a sprinkler riser extension, including the necessary tools and safety precautions to take.
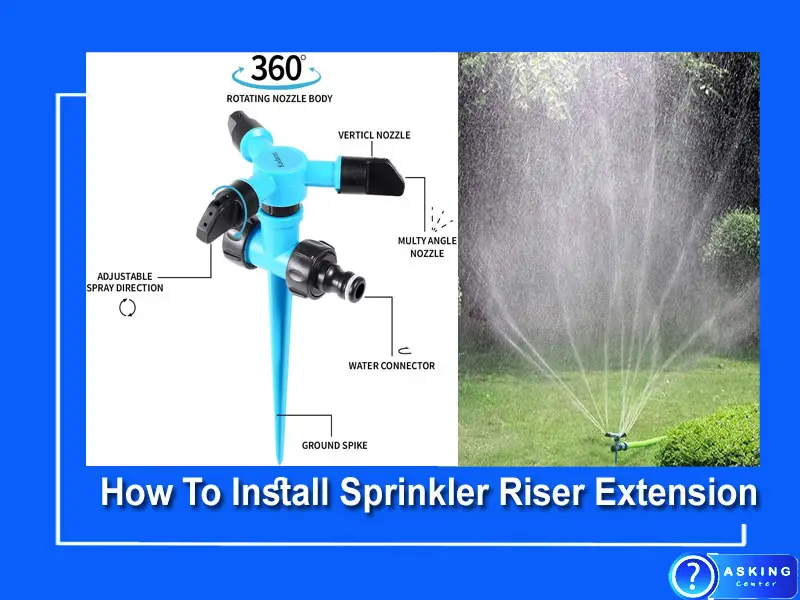
How To Install Sprinkler Riser Extension
Installing a sprinkler riser extension is a relatively simple process that can be completed in just a few steps. Here’s a step-by-step guide on How To Install Sprinkler Riser Extension:
To install a sprinkler riser extension, you will need the following materials:
- Sprinkler riser extension: This is the main component that will elevate your sprinkler head. You can find sprinkler riser extensions at most home improvement stores or online.
- Teflon tape: This is used to create a watertight seal between the sprinkler riser extension and the existing sprinkler head.
- PVC cement: This is used to secure the sprinkler riser extension to the existing PVC pipe. Make sure to choose a cement that is compatible with your existing PVC pipe.
- PVC pipe cutter: This tool is used to cut the existing PVC pipe to the appropriate length for the sprinkler riser extension.
- Adjustable wrench: This tool is used to tighten and loosen nuts and bolts.
- Safety goggles: It’s important to protect your eyes from any debris or PVC shavings that may fly off during the installation process.
- Work gloves: Gloves will protect your hands from any sharp edges or hot surfaces.
Make sure you have all of these materials before you begin the installation process.
Step 1: Turn off the water supply
Before you begin, make sure to turn off the water supply to your sprinkler system. This will prevent any water from spraying out while you’re installing the sprinkler riser extension.
Step 2: Cut the existing PVC pipe
Use a PVC pipe cutter to cut the existing PVC pipe to the appropriate length for the sprinkler riser extension. Measure the distance between the top of the existing sprinkler head and the surface that needs to be watered. This will give you the length of the sprinkler riser extension needed. Add an extra inch to this measurement to allow for the height of the sprinkler riser extension itself.
Step 3: Clean the cut ends of the PVC pipe
After cutting the PVC pipe, use a utility knife or sandpaper to clean the cut ends. This will ensure a smooth and even surface for the sprinkler riser extension to attach to.
Step 4: Apply Teflon tape
Wrap Teflon tape around the threads of the existing sprinkler head. This will create a watertight seal between the sprinkler riser extension and the sprinkler head.
Step 5: Attach the sprinkler riser extension
Screw the sprinkler riser extension onto the threaded end of the sprinkler head. Use an adjustable wrench to tighten the sprinkler riser extension until it’s snug. Make sure not to overtighten, as this can cause damage to the sprinkler head.
Step 6: Apply PVC cement
Apply PVC cement to the inside of the sprinkler riser extension and the outside of the existing PVC pipe. Make sure to use cement that is compatible with your existing PVC pipe. Push the sprinkler riser extension onto the existing PVC pipe and hold it in place for a few seconds to allow the cement to set.
Step 7: Turn on the water supply
Turn on the water supply to your sprinkler system and check for any leaks. If you notice any leaks, turn off the water supply and tighten the connections. Once you’ve confirmed that there are no leaks, adjust the height of the sprinkler head to the desired level.
Step 8: Test the sprinkler
Turn on the sprinkler system and test the new sprinkler riser extension. Make sure that the water is reaching the desired area and that the sprinkler head is rotating properly.
In summary, to install a sprinkler riser extension, you will need to cut the existing PVC pipe, attach the sprinkler riser extension, apply Teflon tape, and secure the connection with PVC cement. Be sure to follow all safety precautions and turn off the water supply before beginning the installation process.
Once installed, test the sprinkler to ensure that it’s working properly. With a little bit of effort, you can install a sprinkler riser extension and ensure that your lawn or garden is receiving the proper amount of water it needs to thrive.
Pop-Up Sprinkler Riser Extension
Pop-up sprinkler riser extensions are a great way to extend the reach of pop-up sprinklers. They allow you to place your sprinklers further away from your home and garden, ensuring that the water all areas evenly. Installing a pop-up sprinkler riser extension is an easy process with no special tools required.
These extensions raise the height of the spray pattern, allowing for greater coverage and more efficient watering. Additionally, they come in various sizes and styles so you can find one that fits your specific needs.
How To Raise Sprinkler Heads Without Digging
Raising sprinkler heads without digging can be done in a few simple steps. First, locate the sprinkler head and turn off the water supply leading to it. Next, loosen the nut securing the riser pipe to the ground using an adjustable wrench or pliers.
Then, use your hands to pull up on both sides of the riser until it comes out of its hole. Finally, insert some type of spacer material such as foam insulation or nylon spacers between the existing riser and its new raised height before re-securing with a nut and turning back on your water supply.
Kap-It Pop-Up Sprinkler Riser Extension
The Kap-It Pop-Up Sprinkler Riser Extension is an innovative product designed to raise the height of your pop-up sprinkler heads, allowing you to customize the water coverage and eliminate low spots in your lawn.
This extension is made of durable plastic and fits easily onto existing sprinklers, making it quick and easy to install. With its adjustable height settings, this riser provides a great solution for improving your irrigation system’s performance without having to completely replace it.
Kap-It Riser
Kap-It Riser is a revolutionary new product designed to help wheelchair users easily and safely transfer into their wheelchairs.
The riser features an ergonomic handlebar, adjustable seat height, and integrated safety features that make it easy for caregivers to provide the necessary assistance. It also has a lightweight design which makes it easier to transport from place to place.
With its innovative design, Kap-It Riser provides wheelchair users with the independence they need while providing them with extra security and peace of mind when transferring in or out of their wheelchairs.
Sprinkler Extension Stardew Valley
The Sprinkler Extension mod for Stardew Valley is a great way to increase the efficiency of your sprinklers! This mod adds several new features, such as allowing you to extend the range of your existing sprinklers and add additional customizations. It also allows you to set up multiple watering schedules so that your crops are always well-watered even when you’re away from home.
With this mod, it’s easier than ever to keep your farm in top shape!
How To Raise a Sprinkler Head 2 Feet
Raising a sprinkler head 2 feet is an easy task that can be completed in just a few minutes. All you need is the right tools, such as a shovel, adjustable wrench, and pliers. First, loosen the nut on the riser pipe which holds the sprinkler head to its current position.
Then use your shovel to dig around and beneath the existing sprinkler head until it’s free from its surroundings. You may have to move some dirt or rocks out of the way in order to access all sides of the riser pipe so you can lift it up higher.
Once it’s lifted 2 feet up, use your adjustable wrench and pliers to secure it back into place with new nuts and bolts before filling in any excess soil or gravel around it for better stability.
Rainbird Extension Riser
The Rainbird Extension Riser is a great tool for extending the reach of your sprinkler system. It allows you to increase the height of your sprinklers, so they can cover more ground and provide better coverage over larger areas. This riser is easy to install and comes with an adjustable flow control valve that helps you conserve water by controlling how much water each individual sprinkler head uses.
The Rainbird Extension Riser also has built-in filtration systems that keep dirt and debris out of your lines, providing clean, efficient operation in any environment.
How Do You Fix a Riser on a Sprinkler Head?
To fix a riser on a sprinkler head, follow these steps:
1. Turn off the water supply to the sprinkler system.
2. Unscrew and remove the existing riser from its pipe fitting with an adjustable wrench.
3. Place the new riser onto its pipe fitting, making sure it is firmly seated against any washers or gaskets that may be present.
4. Tighten securely with an adjustable wrench until hand-tightened only; do not overtighten as this may damage the components or cause leaks in the line later on down the road.
5. Reconnect the water supply to the sprinkler system and test for proper operation of all heads attached to the mainline by activating them one at a time using a timer control box or manually turning each valve back on at their respective locations in order to get full coverage of your area without over-watering any specific spot in your yard or garden beds!
Conclusion
Installing a sprinkler riser extension is an easy and cost-effective way to help ensure that your lawn is properly irrigated. With the right supplies, tools, and knowledge, you can install it in no time. Once installed, you’ll have peace of mind knowing that your lawn has the proper irrigation it needs to remain healthy and beautiful year-round.
Whether you’re a novice or an experienced DIYer, installing a sprinkler riser extension is an achievable project for any homeowner.