Outdoor wall lighting is a great way to enhance the look of your home’s exterior and provide additional security at night. Installing outdoor wall lighting may seem like a daunting task, but with the right tools and a few simple steps, it can be done easily and quickly. In this guide, we will provide you with step-by-step instructions on how to install outdoor wall lighting. Whether you’re a seasoned DIYer or a first-time installer, this guide will help you get the job done right.
How To Install Outdoor Wall Lighting
Installing outdoor wall lighting is a great way to enhance the curb appeal of your home, while also providing additional security at night. While it may seem daunting at first, installing outdoor wall lighting can be done easily and safely with the right tools and instructions. In this guide, we will take you through the step-by-step process of How To Install Outdoor Wall Lighting.
Before you begin installing outdoor wall lighting, it is important to gather all the necessary materials to ensure a smooth installation process. Here are the materials you will need:
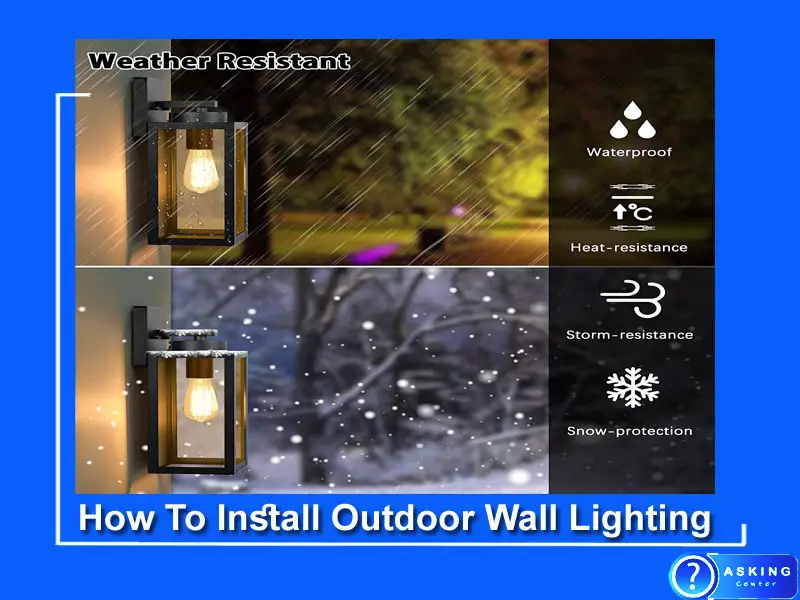
- Outdoor wall lighting fixture – choose a fixture that is rated for outdoor use and has a weather-resistant finish
- Electrical wire – use 12 or 14-gauge wire that is rated for outdoor use
- Wire nuts – to connect the wires together
- Circuit tester – to ensure that the power is off before beginning the installation
- Screwdriver – for mounting the fixture to the wall
- Drill and drill bit – to create holes for mounting screws or wiring
- Electrical tape – to secure the wiring and protect it from the elements
- Ladder – to reach the installation area safely
- Safety glasses – to protect your eyes from debris and dust
- Gloves – to protect your hands while handling the fixture and wiring.
By having all of these materials on hand, you can complete the installation of your outdoor wall lighting fixture in a safe and efficient manner.
Step 1: Choose the Location
The first step in installing outdoor wall lighting is to choose the location where you want to install the fixture. You will want to select an area that is well-lit and easily accessible. It is also important to make sure that there is an electrical box nearby that you can use for the wiring.
Step 2: Turn Off the Power
Before beginning any electrical work, it is important to turn off the power to the area where you will be working. You can do this by flipping the circuit breaker that controls the area or by turning off the main power switch. Once the power is off, use a circuit tester to verify that there is no current running through the wires.
Step 3: Mount the Fixture Bracket
Once you have chosen the location and turned off the power, you can begin mounting the fixture bracket to the wall. Use a drill and the appropriate drill bit to create holes for the screws. Then, use a screwdriver to mount the bracket securely to the wall.
Step 4: Connect the Wiring
Now that the bracket is in place, you can begin connecting the wiring. Start by threading the electrical wire through the hole in the back of the fixture and then through the mounting bracket. Next, strip the ends of the wire and connect them to the wires inside the electrical box using wire nuts. Make sure to connect the black wire to the black wire, the white wire to the white wire, and the green or bare wire to the ground wire.
Step 5: Secure the Fixture
Once the wiring is connected, you can secure the fixture to the bracket. Follow the manufacturer’s instructions for attaching the fixture to the bracket. Typically, this involves tightening screws or clips to hold the fixture in place.
Step 6: Test the Fixture
Before turning the power back on, it is important to test the fixture to make sure it is working properly. Turn the power back on and use the switch to turn on the fixture. If it does not turn on, turn off the power and check the wiring connections.
Step 7: Seal the Wiring
To protect the wiring from the elements, it is important to seal it using electrical tape or a waterproof sealant. Wrap the electrical tape around the wires and connections, or use a sealant to cover them completely. This will prevent water from entering the fixture and causing damage.
Step 8: Final Inspection
Once the fixture is installed and tested, it is important to perform a final inspection to ensure that everything is safe and secure. Check the wiring connections, the mounting bracket, and the fixture itself to make sure that everything is properly installed and tightened.
In conclusion, installing outdoor wall lighting can be a great way to enhance the look and security of your home. By following these step-by-step instructions, you can install your own outdoor wall lighting fixture safely and easily. Remember to always turn off the power before beginning any electrical work, and use the appropriate tools and materials for the job. With a little patience and attention to detail, you can have your new outdoor wall lighting installed in no time.
How To Install Motion Sensor Light Outdoor
Installing a motion sensor light outdoors can be a great way to increase security around your home or business. A motion sensor light can detect movement and automatically turn on, which can help deter burglars or intruders. Follow these step-by-step instructions to install a motion sensor light outdoors:
1. Choose the location for the motion sensor light:
The first step is to choose a suitable location for the motion sensor light. Consider areas around your home or business that may be vulnerable, such as entryways or dark corners. Make sure the location has easy access to an electrical source.
2. Turn off the power:
Before starting the installation process, turn off the power to the area where you will be installing the motion sensor light. This will prevent any electrical accidents from happening.
3. Install the mounting bracket:
Attach the mounting bracket to the wall or eave where you want to install the motion sensor light. Use screws and a drill to secure the bracket in place. Make sure the bracket is level and secure.
4. Connect the wiring:
Connect the wiring from the motion sensor light to the wiring in your electrical box. Refer to the instructions that came with your motion sensor light to determine which wires should be connected. Typically, the black wire from the light will be connected to the black wire from the electrical box, the white wire from the light will be connected to the white wire from the electrical box, and the green wire (or bare copper wire) will be connected to the ground wire.
5. Mount the motion sensor light:
Attach the motion sensor light to the mounting bracket using screws. Make sure the light is level and secure.
6. Test the motion sensor light:
Turn the power back on and test the motion sensor light to ensure it is working properly. You can do this by walking in front of the motion sensor to see if the light turns on. If it does not, refer to the instructions that came with your motion sensor light to troubleshoot any issues.
7. Adjust the motion sensor:
Most motion sensor lights come with adjustable settings for sensitivity and duration. Adjust these settings to your preference. The sensitivity setting will determine how sensitive the motion sensor is to movement, while the duration setting will determine how long the light stays on once it is triggered.
8. Seal the wiring:
Once you are satisfied with the installation and the motion sensor light is working properly, seal the wiring to protect it from the elements. You can use silicone caulk to seal the holes where the wiring enters the electrical box and the light fixture.
In conclusion, installing a motion sensor light outdoors is a relatively simple process that can provide added security and peace of mind. Follow these step-by-step instructions to install your motion sensor light correctly and safely.
Frequently Asked Questions (FAQs)
How do you install exterior lights on a wall?
To install exterior lights on a wall, you will need to follow a few simple steps. First, choose the location where you want to install the fixture and turn off the power to the area. Next, mount the fixture bracket to the wall and connect the wiring. Once the wiring is connected, secure the fixture to the bracket and test it to ensure that it is working properly. Finally, seal the wiring to protect it from the elements and perform a final inspection to ensure that everything is safe and secure.
How do you install outdoor lights?
Installing outdoor lights and camera follows the same general process as installing exterior lights on a wall. Choose the location where you want to install the fixture, turn off the power to the area, mount the fixture bracket to the wall, connect the wiring, secure the fixture to the bracket, test it, seal the wiring, and perform a final inspection.
How do you install outdoor lights on a brick wall?
Installing outdoor lights on a brick wall can be a bit more challenging than on other surfaces, but it can still be done with the right tools and techniques. First, use a masonry drill bit to create holes for the screws or wiring. Then, use masonry screws or anchors to mount the fixture bracket to the wall. Follow the same steps as above to connect the wiring, secure the fixture, test it, seal the wiring, and perform a final inspection.
How do you attach wall lights to the wall?
To attach wall lights to the wall, you will need to use a fixture bracket and screws or anchors. First, choose the location where you want to install the fixture and mount the bracket to the wall using a drill and the appropriate drill bit. Once the bracket is in place, follow the same steps as above to connect the wiring, secure the fixture, test it, seal the wiring, and perform a final inspection.
