If you’re in the market for a new gooseneck hitch or need to replace your current one, it’s important to understand how to install it correctly. Installing a gooseneck hitch is a task that requires careful planning and attention to detail, but with the right guidance, it can be done easily and safely.
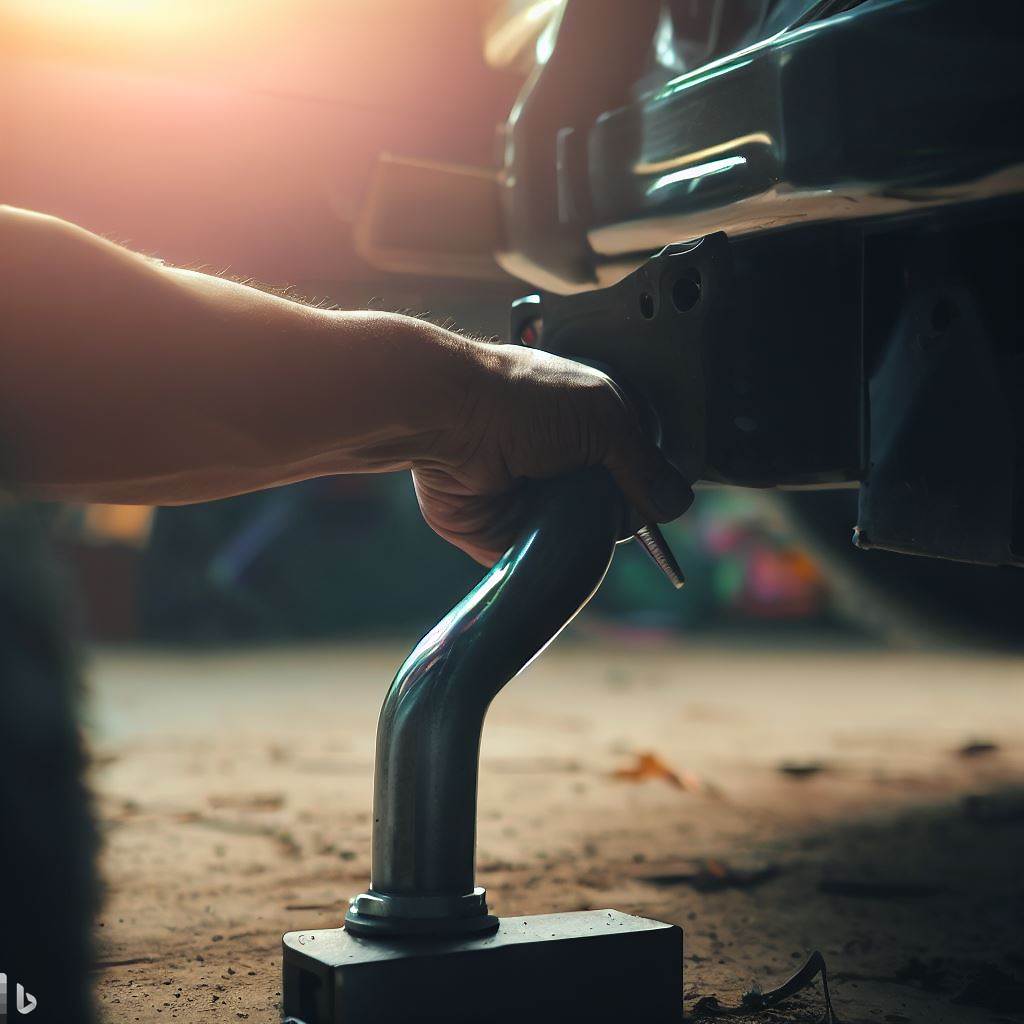
Installing a gooseneck hitch can be a challenging task, but with the right tools and knowledge, it can be done quickly and efficiently. A gooseneck hitch is a type of trailer hitch that is mounted in the bed of a truck, allowing for the attachment of a gooseneck trailer. These hitches are commonly used for hauling large trailers, such as horse trailers or RVs.
In this article, we will provide step-by-step instructions on how to install a gooseneck hitch, including the necessary tools and safety precautions. By following these guidelines, you can ensure a successful installation and safe towing experience.
So, let’s get started!
7 Easy Steps To Know How To Install Gooseneck Hitch
Installing a gooseneck hitch is a complex process that requires careful attention to detail and the use of specialized tools.
Necessary Tools:
Here are the materials you will need to install a gooseneck hitch:
- Gooseneck hitch kit
- Drill with drill bits
- Torque wrench
- Socket set
- Tape measure
- Safety glasses
- Ratchet straps
- Level
- Marker or chalk
- Safety equipment
In this guide, we will provide step-by-step instructions on how to install a gooseneck hitch, including the necessary tools, safety precautions, and tips for a successful installation.
Step 1: Gather the necessary materials and tools
Before you begin installing the gooseneck hitch, it is essential to gather all the necessary materials and tools. These materials and tools include a gooseneck hitch kit, drill with drill bits, torque wrench, socket set, tape measure, safety glasses, ratchet straps, level, marker, or chalk, and safety equipment such as gloves and work boots.
Step 2: Mark the location for the hitch
Once you have gathered all the necessary materials and tools, the first step is to mark the location for the hitch. To do this, you should place the hitch on the truck bed and mark the centerline using the tape measure and marker or chalk. Then, mark the holes for the hitch by measuring the distance between the centerline and the hitch’s mounting holes using the tape measure.
Step 3: Drill holes in the truck bed
After marking the location and holes, the next step is to drill the holes in the truck bed using the drill with drill bits. Before drilling, make sure to double-check the markings to ensure that they are correct. When drilling, be careful not to damage the truck bed or any of its components. Use the appropriate drill bit size according to the instructions provided in the hitch kit.
Step 4: Install the hitch
After drilling the holes, the next step is to install the gooseneck hitch. Begin by placing the hitch over the holes and using the ratchet straps to hold it in place. Then, use the socket set to attach the hitch bolts to the truck bed. Make sure to use the torque wrench to tighten the bolts to the manufacturer’s recommended specifications. Be sure to check that the hitch is level during installation.
Step 5: Install the ball
Once the hitch is installed, the next step is to install the ball. To do this, remove the hitch cover and insert the ball into the hitch. Make sure to secure the ball using the locking pin or bolt provided in the hitch kit. Be sure to tighten the locking pin or bolt to the recommended torque specification using the torque wrench.
Step 6: Test the hitch
After completing the installation, the next step is to test the hitch to ensure that it is working correctly. To do this, attach the gooseneck trailer to the hitch and test it by driving slowly around a safe area. Check to make sure that the trailer is securely attached to the hitch and that there is no wobbling or shaking.
Step 7: Finish the installation
Finally, once you have confirmed that the hitch is working correctly, finish the installation by replacing the hitch cover and any other components that were removed during the installation process. You may also want to clean the hitch and the truck bed to remove any debris or metal shavings left over from the installation process.
Safety Precautions:
Installing a gooseneck hitch can be a dangerous task if proper safety precautions are not taken. Here are some safety tips to follow when installing a gooseneck hitch:
- Wear safety glasses to protect your eyes from debris and metal shavings during installation.
- Wear gloves and work boots to protect your hands and feet from injury.
- Always use the appropriate tools for the job and follow the manufacturer’s instructions carefully.
- Double-check all markings before drilling to ensure that they are correct.
- Make sure the truck is on a level surface before beginning the installation.
- Never exceed the weight capacity of the hitch
How To Install A Gooseneck Hitch On A Fifth Wheel
Installing a gooseneck hitch on a fifth wheel can be a bit more complicated than a standard gooseneck hitch installation. However, with the right tools and knowledge, it can be done safely and efficiently. In this guide, we will provide step-by-step instructions on how to install a gooseneck hitch on a fifth wheel, including the necessary tools, safety precautions, and tips for a successful installation.
Step 1
Before you begin installing the gooseneck hitch on a fifth wheel, it is essential to gather all the necessary materials and tools. These materials and tools include a gooseneck hitch kit, drill with drill bits, torque wrench, socket set, tape measure, safety glasses, ratchet straps, level, marker, or chalk, and safety equipment such as gloves and work boots.
Step 2
The first step is to determine the location of the gooseneck hitch. The location will depend on the type of fifth-wheel trailer you have. In most cases, the gooseneck hitch should be installed in the center of the fifth-wheel trailer. Measure and mark the center point using the tape measure and marker or chalk.
Step 3
To install the gooseneck hitch, you will need to remove the existing kingpin. This is usually done by removing the bolts that secure the kingpin to the trailer frame. Use the socket set to remove the bolts, and then remove the kingpin from the trailer frame.
Step 4
Once the kingpin is removed, you can begin installing the gooseneck hitch. Start by placing the hitch over the hole in the trailer frame and securing it in place using the ratchet straps. Then, use the socket set to attach the hitch bolts to the trailer frame. Make sure to use the torque wrench to tighten the bolts to the manufacturer’s recommended specifications. Be sure to check that the hitch is level during installation.
Step 5
After the hitch is installed, the next step is to install the ball. To do this, remove the hitch cover and insert the ball into the hitch. Make sure to secure the ball using the locking pin or bolt provided in the hitch kit. Be sure to tighten the locking pin or bolt to the recommended torque specification using the torque wrench.
Step 6
After completing the installation, the next step is to test the hitch to ensure that it is working correctly. To do this, attach the gooseneck trailer to the hitch and test it by driving slowly around a safe area. Check to make sure that the trailer is securely attached to the hitch and that there is no wobbling or shaking.
Step 7
Finally, once you have confirmed that the hitch is working correctly, finish the installation by replacing the hitch cover and any other components that were removed during the installation process. You may also want to clean the hitch and the trailer to remove any debris or metal shavings left over from the installation process.
Safety Precautions:
Installing a gooseneck hitch on a fifth wheel can be a dangerous task if proper safety precautions are not taken. Here are some safety tips to follow when installing a gooseneck hitch on a fifth wheel:
- Wear safety glasses to protect your eyes from debris and metal shavings during installation.
- Wear gloves and work boots to protect your hands and feet from injury.
- Always use the appropriate tools for the job and follow the manufacturer’s instructions carefully.
- Double-check all markings before drilling to ensure that they are correct.
Difference Between Gooseneck vs 5th Wheel
Certainly! Here’s a comparison table highlighting the key differences between gooseneck and 5th wheel hitches:
| Factor | Gooseneck Hitch | 5th Wheel Hitch |
|---|---|---|
| Type of connection | Ball and coupler | Kingpin and coupling |
| Location of connection | In the bed of the truck | Over the rear axle of the truck |
| Towing capacity | Generally 25,000+ pounds | Generally 16,000-30,000 pounds |
| Trailer sway | Greater chance of sway | Less chance of sway |
| Turning radius | Limited maneuverability | Improved maneuverability |
| Installation | Requires installation over the rear axle | Can be rougher due to the location |
| Cargo space | Minimal impact on cargo space | Large impact on cargo space |
| Ride quality | Can be rougher due to location | Generally smoother due to location |
As you can see, there are significant differences between gooseneck and 5th wheel hitches that can impact your towing experience. The right choice will depend on your specific needs and preferences, including your towing capacity, cargo space, and desired ride quality.
Final Words
Installing a gooseneck hitch is a task that requires careful planning and attention to detail. It’s important to choose the right hitch for your vehicle and your specific towing needs and to carefully follow the manufacturer’s instructions during installation.
While it is possible to install a gooseneck hitch yourself, it’s important to have the necessary mechanical skills and experience working with vehicles to do so safely and effectively.
Alternatively, you can choose to have a professional install the hitch for you, which can help ensure that it’s done correctly and that you can tow your trailer with confidence. With the right preparation and a clear understanding of the installation process, you can successfully install a gooseneck hitch and enjoy the benefits of safer, more efficient towing.