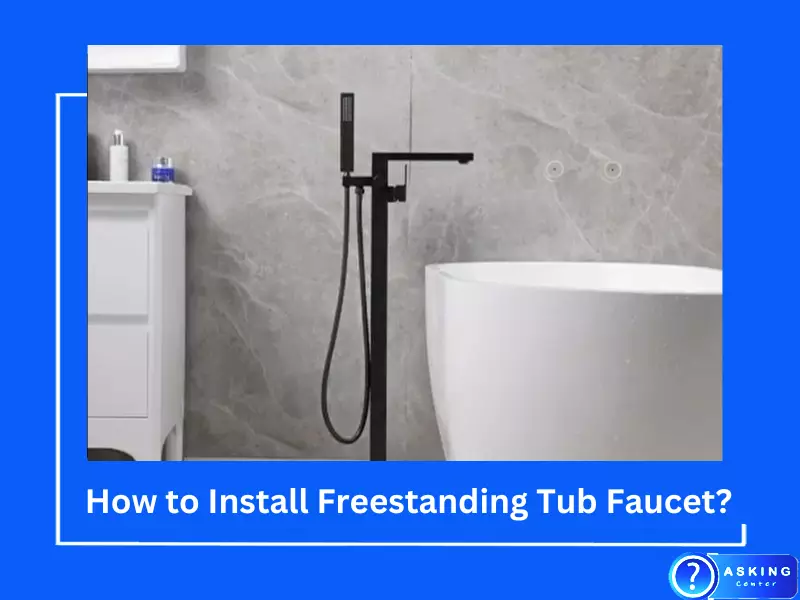
Installing a freestanding tub faucet involves connecting the water supply lines, mounting the faucet body to the wall and attaching the sprayer hose.
1. Shut off the water supply before beginning installation.
2. Place both hoses of hot and cold water onto designated valves on your new freestanding tub faucet.
3. Securely mount the bracket for your bathtub’s spout to wall studs with screws or lag bolts provided in kit instructions by manufacturer; use washers between bracket and wall if necessary for stability when tightening screws or lag bolts .
- Gather the necessary tools and materials for installing a freestanding tub faucet
- This usually includes adjustable wrenches, pliers, an oscillating saw, drill bits, silicone sealant, and mounting hardware
- Secure the plumbing supply lines to the wall or floor using two-hole straps or clamps if they are not already installed
- Make sure there is enough slack in the piping so that it can move when you install the faucet without being too tight on any one connection point
- Place your freestanding tub where you want it to be before attaching any of its components as this will make installation easier and more accurate overall
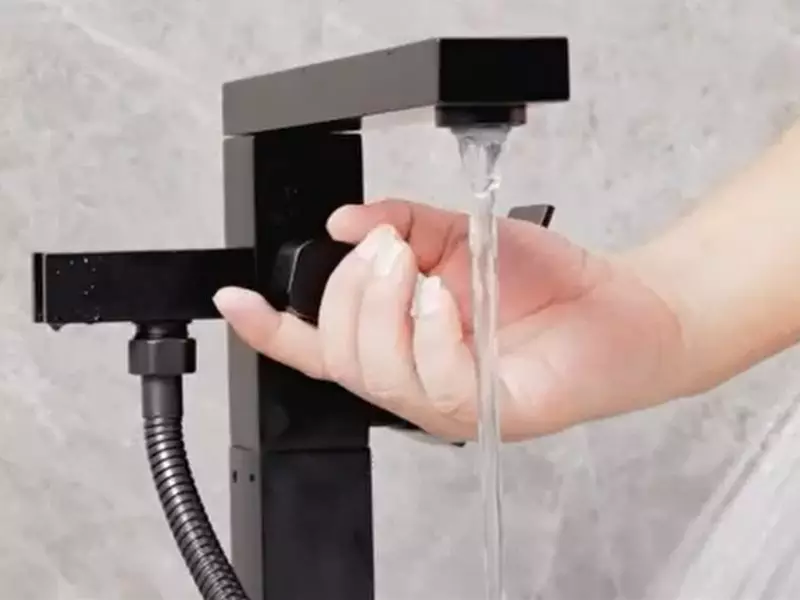
- Install hot and cold water supplies into each side of the spout body by hand tightening with adjustable wrenches or pliers until snug but not overtightened (you may have to use thread tape at the base of these connections)
- 5
- Connect both hot and cold water supplies to their respective valves using flexible hoses or copper tubing depending on what type of valve you are utilizing for your particular model (again don’t overtighten)
- 6 Use a hole saw bit to cut through tile or other material around where your spout needs to mount ensuring that it is large enough for all parts including escutcheon plate if applicable then apply silicone caulk around edges once finished drilling holes in preparation for attachment process
Freestanding tub faucet
How to Install a Freestanding Tub Faucet on Concrete
Installing a freestanding tub faucet on concrete can be a tricky task, but with preparation and the right tools, it’s possible to do. The first step is to measure the area where you’ll be installing the faucet and mark the location of both its hot and cold water supply lines. Next, use an impact drill or hammer drill to create two holes for mounting screws in your concrete surface for each line.
Finally, secure the mounting brackets with lag bolts if needed before connecting your new faucet to its water supply lines. With some patience and careful workmanship, you’ll have a beautiful freestanding tub faucet mounted on your concrete surface in no time!
How to Install a Freestanding Tub Drain
Installing a freestanding tub drain is an easy and inexpensive way to update your bathroom. First, measure the area where you would like to install the drain and purchase a matching kit. Then, attach the flange to the bottom of your bathtub using silicone caulk or other adhesive.
Next, connect the overflow pipe and P-trap together before attaching it to the flange with screws. Lastly, seal all connections with plumber’s putty or another appropriate sealant for extra protection against leaks. With these steps completed, you should have successfully installed your new freestanding tub drain!
Installing Freestanding Tub on Tile
Installing a freestanding tub on tile is relatively simple, though it can be time consuming. Start by measuring the area you plan to place the tub in and then use construction adhesive to secure it firmly in place. Next, make sure you have an appropriate drain setup for your style of tub – some require different configurations than others.
Finally, ensure that all necessary water supply lines are properly connected and plumbed before securing them with brackets for stability. Once complete, your new freestanding tub should be ready for use!
Freestanding Tub Flexible Drain Hose Installation
Installing a flexible drain hose on your freestanding tub is an easy and effective way to ensure that your bathtub drains properly. This type of installation typically requires the use of a screw-on flange to secure the hose in place, as well as plumbers putty for additional sealant. The process should take no more than 30 minutes and can be completed with basic tools like adjustable wrenches or pliers.
Once installed, you’ll have a reliable drainage system that will keep your bath water from pooling around the base of the tub.
Freestanding Tub Faucet Rough-In
A freestanding tub faucet rough-in is a plumbing installation that enables the mounting of a freestanding bathtub faucet on the wall, rather than directly onto the tub. It consists of valves and supply lines that are mounted inside the wall cavity, allowing easier access for maintenance and repairs. The rough-in also allows you to customize your faucet by providing extra height or distance from the floor level.
Installing a freestanding tub faucet rough-in requires careful planning, as it involves cutting into walls and running copper piping throughout the home.
Artiqua Freestanding Tub Filler Installation Instructions
Installing an Artiqua Freestanding Tub Filler is easy and straightforward. It comes with all the necessary components, including a mounting bracket, hot and cold water lines, drain line, shutoff valves and faucet handles. Begin by attaching the mounting bracket to the wall or floor near the tub.
Next, connect the supply lines to your home’s hot and cold water systems. After that’s done, attach the drain line to your plumbing system and secure it tightly with a wrench or pliers. Finally, install the faucet handles onto their respective valves before turning on both inlets to check for proper functioning of your new freestanding tub filler!
How to Install Deck Mount Faucet on Freestanding Tub
Installing a deck mount faucet on a freestanding tub is simple and requires minimal tools. First, attach the mounting bracket to the wall behind the tub using screws provided with your faucet kit. Next, position the faucet onto the bracket and secure it in place by tightening any nuts or bolts included with your kit.
Lastly, connect hoses from both hot and cold water sources to their respective points at the base of your new faucet for easy access to running water when needed!
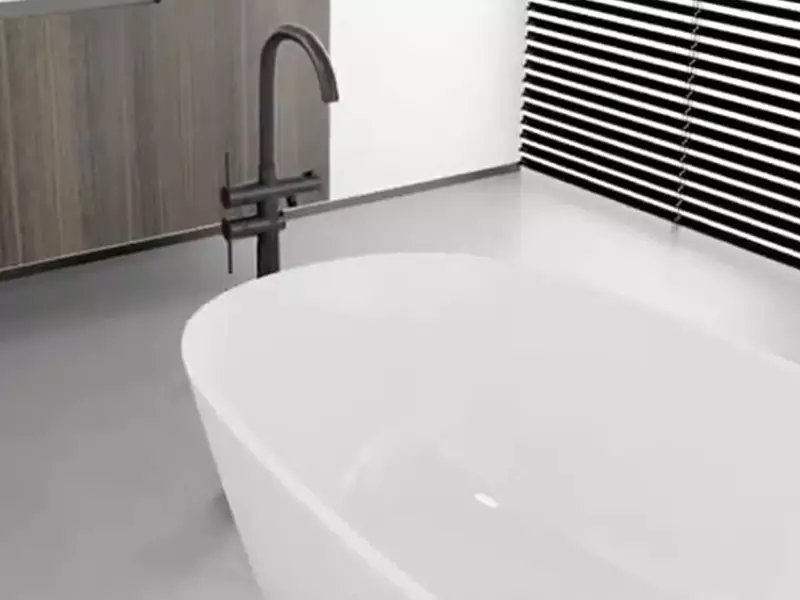
Where Do You Put a Faucet on a Freestanding Tub?
A faucet should be installed on the side of a freestanding tub. The following steps will help you install it correctly:
• Measure the distance from where the faucet will sit to ensure adequate access and space for plumbing.
• Securely mount the faucet in place with included hardware, typically using bolts or screws.
• Connect water supply lines according to manufacturer’s instructions.
• Test for any leaks before use.
Once properly installed, your new freestanding tub faucet is ready to enjoy!
Does a Freestanding Tub Faucet Need a Valve?
Yes, a freestanding tub faucet needs a valve. A valve is necessary to adjust the water pressure and temperature of your bathtub. It will help you control the amount of water that flows through the spout and ensure that it does not get too cold or hot.
Benefits Of Installing Valve:
• Maintains safe temperatures in water
• Adjusts water pressure as needed
• Prevents wastage of resources (water)
• Ensures uninterrupted flow of hot/cold water
A valve can be easily installed with any freestanding tub faucet, so make sure you install one when setting up your bathroom fixtures.
This will help you save money on energy bills while also keeping the atmosphere comfortable for everyone who uses the bathtub.
Can You Mount a Faucet on a Freestanding Tub?
Yes, you can mount a faucet on a freestanding tub. Here are the steps to follow:
-Measure the height of your tub and decide where the faucet should be installed.
-Drill holes in the correct locations for pipes to be fed through and secure mounting brackets with screws.
-Attach supply lines to shut off valves or spout elbow pieces using compression fittings.
-Connect drainpipe and overflow pipe before securing them securely with bolts and nuts.
-Tighten all connections firmly but do not over tighten as this may damage plumbing fixtures.
Finally, attach your faucet to its mounting bracket following instructions provided by manufacturer.
How Do You Hook Up Drain for a Freestanding Tub?
Hooking up a drain for a freestanding tub is not difficult but it does require some special attention to detail. Here are the steps you need to take:
* Measure the length of pipe needed and cut it using a hacksaw.
* Put plumber’s putty around the bottom of the drain flange before inserting into the tub. Tighten with screws supplied by manufacturer.
* Connect rubber washers, metal washers and nuts on both sides of tailpiece until tight.
* Connect tailpiece to P-trap and tighten connections with adjustable wrench or pliers, if necessary.
* Cover all bare pipes and fittings with pipe insulation for safety purposes; then attach overflow plate if required by your model tub. Finally, turn on water supply valves beneath sink and test drain for proper operation.
Conclusion
Installing a freestanding tub faucet is an easy way to upgrade your bathroom and add a modern touch. With the right tools and materials, you can install your new faucet in no time. Be sure to measure twice before cutting any pipes, and always turn off the water supply valves before beginning installation.
Follow these steps for a successful installation that will make you proud of your DIY skills!